Thursday, 25 October 2012
Browse »
home»
Projects
»
Techniques
»
Tools
»
Tambour Progress

Here's the process I've come up with for making the slats for the chisel cabinet's tambour door.
First I round the edge of some 3/4 stock with a nosing plane. Since there is no stop, I used the pencil hatching trick to make keeping an eye on progress a little easier:


The section of odd texture on the end of this plane is from the overzealous stamping of F.A.H. - obviously that guy didn't cotton to others borrowing his tools.
Once it's rounded, I use the slitter on a Stanley #45 to cut most of the way through...

...and then finish removing the slat with a knife.

The slat is then placed curved face down into a jig so I can clean up the back with a jack plane.

And that's it - one slat finished (well, actually two since it's double length) and many more to go.

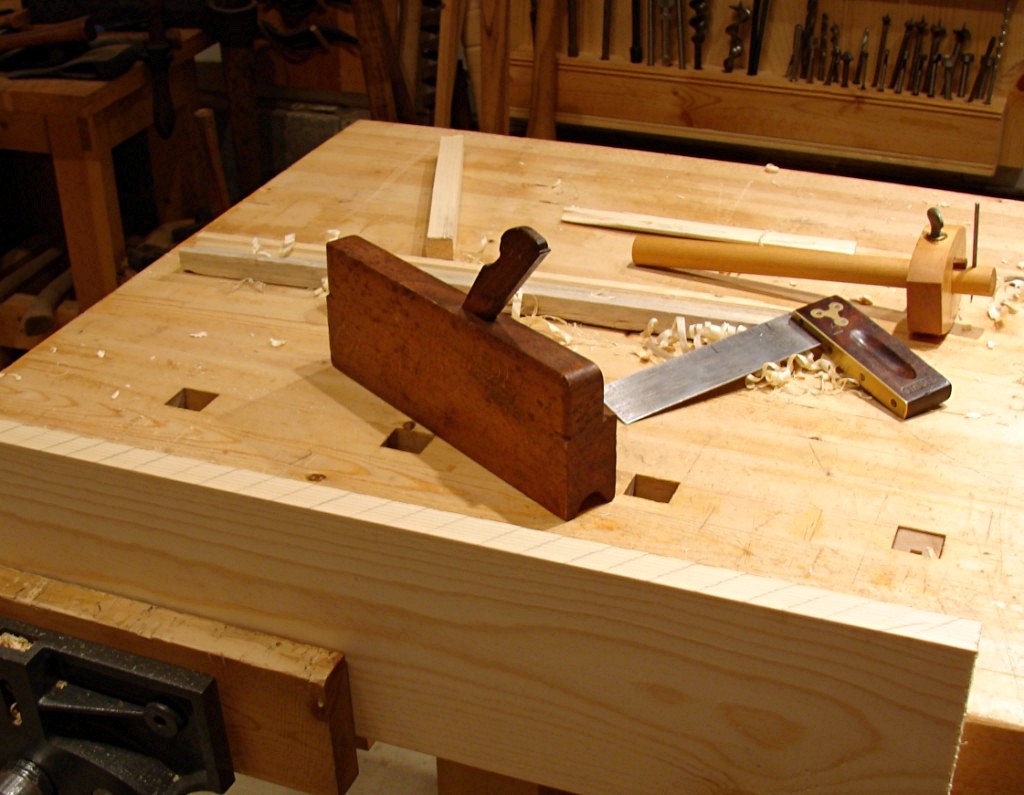
And here's a shot of the planes used:

Since each slat doesn't take very long to make, I'm hoping to sneak out to the shop and work through the total a little at a time. We'll see...


Tambour Progress

Here's the process I've come up with for making the slats for the chisel cabinet's tambour door.
First I round the edge of some 3/4 stock with a nosing plane. Since there is no stop, I used the pencil hatching trick to make keeping an eye on progress a little easier:


The section of odd texture on the end of this plane is from the overzealous stamping of F.A.H. - obviously that guy didn't cotton to others borrowing his tools.
Once it's rounded, I use the slitter on a Stanley #45 to cut most of the way through...

...and then finish removing the slat with a knife.

The slat is then placed curved face down into a jig so I can clean up the back with a jack plane.

And that's it - one slat finished (well, actually two since it's double length) and many more to go.

And here's a shot of the planes used:

Since each slat doesn't take very long to make, I'm hoping to sneak out to the shop and work through the total a little at a time. We'll see...
Subscribe to:
Post Comments (Atom)

No comments:
Post a Comment